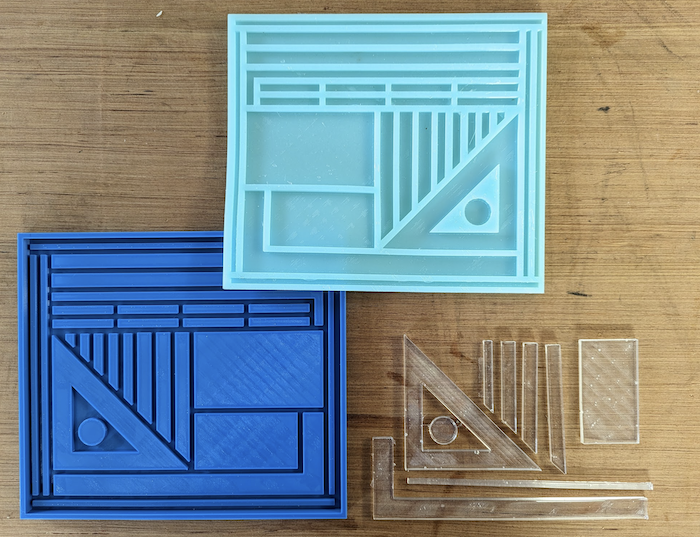
3D print to epoxy tool mat
How to turn Epoxy remains into tools
This post describes my journey from 3D printing to a silicone mat for epoxy upcycling.
For a short description of the project together with the 3D printing files, I recommend to check my GitHub repository on this subject: https://github.com/davidbeckonline/epoxy_tool_mat
What to do with epoxy remains
Over the last couple of month, I tinkered quite a lot with epoxy. It started with some Kintsugi experiments. Later on, I worked on Magic Tonies, which are covered in a separate blog post. The issue with epoxy is that you always have to mix too much of it. You certainly do not want to run out of epoxy while working. And for very small amount, it is difficult to get the right ratio of resin and hardener. This annoyed me, as over time, I threw more epoxy into the trash can, as I actually used. Overall, I used about 500 ml of epoxy over the last two years, to add a number to this.
Experiment with 3D Printing
At some point, I stumbled across a post about the ‘Utility Mat’ on Hackaday. See hackaday.com/2023/02/09/utility-mat-turns-waste-epoxy-into-useful-tools. Great. I wanted to test this. So I contacted the artist behind this mat - Keith Decent. Unfortunately, he does not ship his product outside of of the US. Thinking about this product and my use cases, I came up with the idea to use this mat as a goal for a 3D printing project. I often thought about experimenting with 3D printing, maybe even buying a printer for myself. But then again, I never identified real usecases. I could think of a couple of “nice to have” items, but nothing which justified the investment. So this became a multi step project:
- Design a negative for my mat as 3D object
- Test a 3D printing service
- Create a silicone mat
- Upcycle epoxy remains to tools
I will cover these steps one my one.
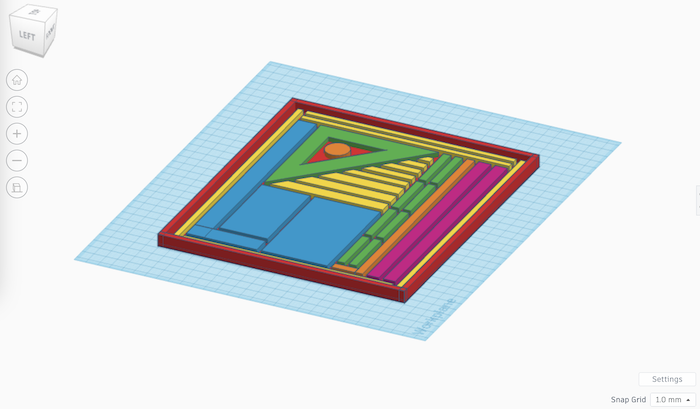
1/ Design 3D Object in TinkerCAD
First of all, I had no (and still have no) idea about 3D printing. Searching online for tools to create 3D objects, it seemed that TinkerCAD is a good choice for a newby. It’s free. It is browser based. There are many tutorials online. So with some experimenting, I got to an object made sense to me. I decided to keep the object rather small (21x24cm), so that it could be printed on most of the hobby 3D printers.
2/ 3D Printing Service
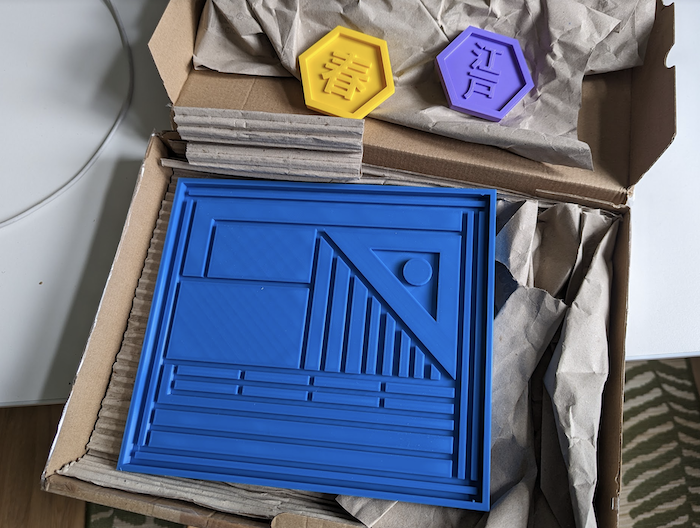
As mentioned before, I was not - and I am still not - able to justify the investment in a 3D printer. So I checked out three different 3D printing services. Prices varied heavily. It seems that “professional” 3D prints are very expensive. But at the same time, I recognized that there seem to be quite a few people out there who are willing to share their 3D printer for some cash. I ended up asking k-3dsolutions to print my file and I was really happy with the price (< 30 EUR incl. shipping - including some prints for my kids), quality. This was my first print, so I am not able to judge the quality. But the exchange was nice and the result did match my requirements and expectations.
3/ Create a silicone mat
Next step was to convert the 3D print into a mat. So I converted the 3D print ‘positive’ into a silicone ’negative’ for my epoxy tools, I intended to create.
As I learned, creating silicone objects seems to be quite a thing. There are a lot of tutorials on this topic - especially in combination with epoxy. This was the first time for me working with such a silicone mix. But the handling of the two components was easy. I filled my 3D print with silicone and waited a couple of hours before I released the silicone from the 3D print with my fingers only. I did not use any release agent. For the mat, about 270g of silicone were needed.
![]()
![]()
4/ Upcycle epoxy remains to tools
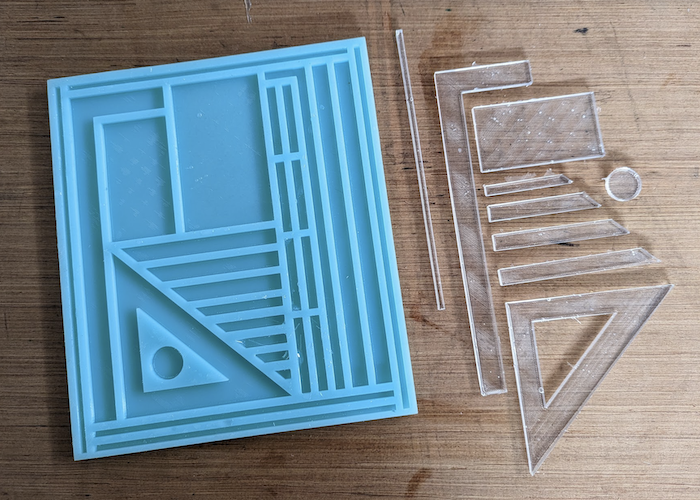
Last step was to test the mat. Again, I had some remains of epoxy which I did not need anymore. And I just pulled these remains into the mat. Distributing the epoxy across the different compartments of the mat was a little bit more dirty then expected. But in hindsight, I probably would not have needed to do anything here. The epoxy will distribute itself across the mat.
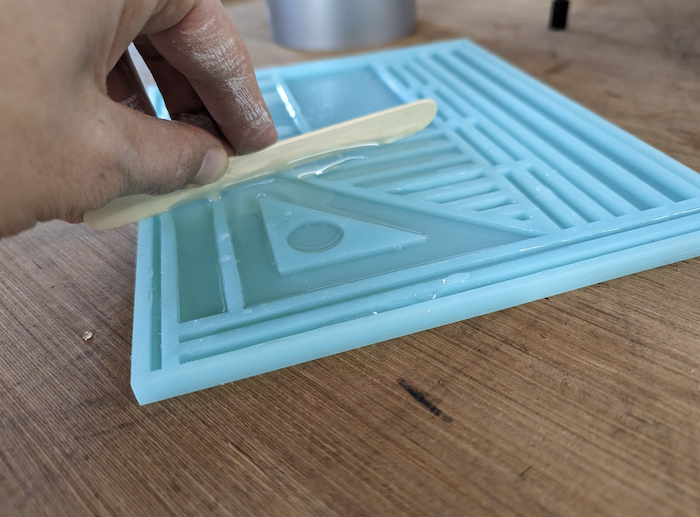
I was a little bit worried whether the epoxy would be easy to separate from the silicone, but again, that was no issue at all.
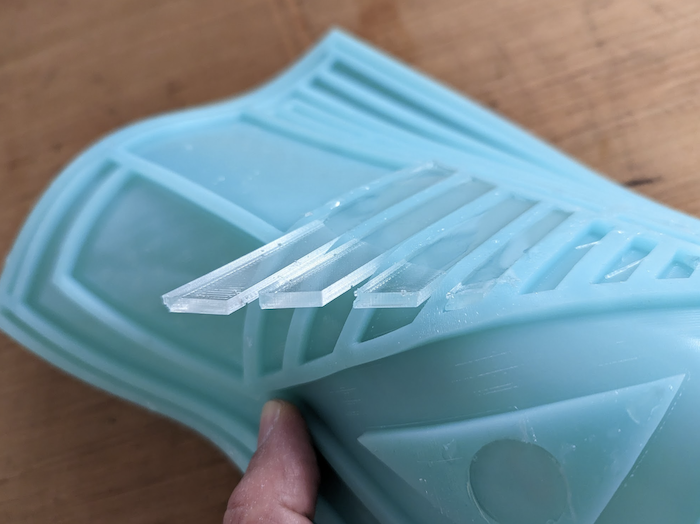
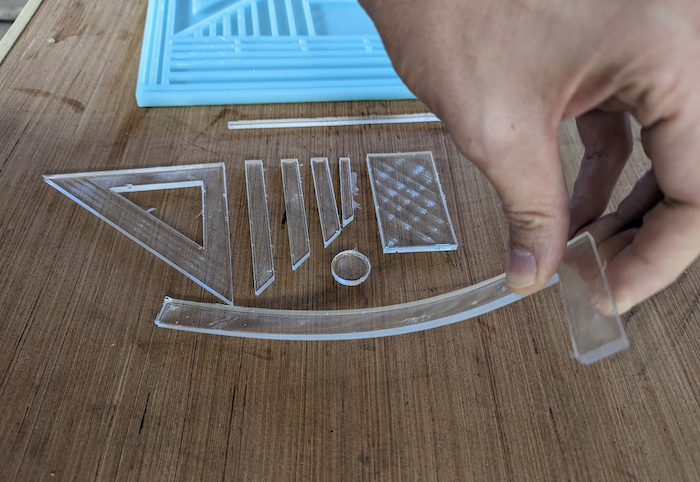
So now I have some tools from epoxy remains. I will still need to test them. Having these tools in my hand, I got reminded how flexible epoxy tends to be. I forgot about that somehow. Honestly, I am not sure whether I will be able to use all of the tools, expecially the fine objects. But we will see. Overall, I am very happy with this project, as touched many new topics. I learned a lot. And it worked out. Not perfect. I have quite a few ideas on how to improve the mat. But it is a good start.
Buying or Building
As always, such a project raises the question whether it was worth the efforts. Would it have been a wiser decision to simply buy the mat. I guess “yes”. The Utility Mat is a better product. The tools seem more advanced. The whole mat is bigger. And the price seems okay. All the materials for my tiny silicone mat also summed up to about 50 EUR. But as there was no way to buy this product in Germany, building was the only - and fun - option.
